What Happens on Split System Installation Day? Brisbane Process Guide (2026)
A complete walkthrough of split system installation day in Brisbane — from site assessment to commissioning. Learn exactly what happens during a 3-5 hour installation, how to prepare your home, what to expect from your technician, and the 7-step process that ensures your air conditioner is installed correctly. Includes pricing, timeline, and post-installation tips for Brisbane homeowners.
A typical split system installation in Brisbane takes 3–5 hours for a back-to-back job, or a full day for multi-head systems. The process includes site assessment, indoor unit mounting, outdoor unit placement, refrigerant pipe installation, electrical connection, vacuum testing, and commissioning. You’ll get an Electrical Safety Certificate and warranty paperwork before the technician leaves. At Amplus Electrical & Air, we charge a flat rate with no call-out fee across Capalaba, Cleveland, and the Redlands. For Capalaba residents, see our Capalaba split system guide. Here’s exactly what to expect from start to finish. If you live in the Redlands, check our Redlands suburb-by-suburb guide.
If you’re reading this, you’ve probably already decided to get air conditioning installed — or you’re close to pulling the trigger. Maybe you’ve read our split system installation cost guide and you know the budget. Maybe you’ve figured out what size system you need. Now you’re wondering: what actually happens on the day? Who shows up? How long does it take? Will they need to cut holes in my walls? What if something goes wrong?
I’m Aaron, I run Amplus Electrical & Air out of Capalaba, and I’ve installed hundreds of split systems across Brisbane’s Bayside and Redlands. This guide walks you through the entire process — from the moment you book the job to the day you turn on your new system. No surprises, no hidden steps, just the honest version of what a professional installation looks like.
Before Installation Day: The Site Assessment
A proper split system install starts before the technician even shows up at your door. Most of the time, I can quote over the phone or from a few photos you send through — back-to-back installs are pretty straightforward. But if your job has complications (long pipe runs, tricky access, older switchboard), I’ll come out for a free on-site assessment first.
What happens during a site assessment?
- Measure the room — confirm the system size matches the space (ceiling height, window orientation, insulation)
- Check the wall — is there a stud in the right place? Is the wall solid brick, fibro, or timber frame?
- Inspect the outdoor position — is there enough clearance? Will the unit be exposed to salt air (coastal suburbs like Wellington Point or Victoria Point need anti-corrosion protection)?
- Assess the electrical supply — does your switchboard have space for a dedicated circuit? Is it an older fuse box that needs upgrading?
- Measure pipe run — how far is it from the indoor unit to the outdoor position? Standard installs include up to 3 metres of pipe; longer runs cost extra
The assessment usually takes 20–30 minutes. I’ll give you a fixed price on the spot — no “we’ll see on the day” surprises. If everything’s straightforward, we can book the install right then. If the switchboard needs an upgrade or there are other complications, I’ll quote that separately and explain why it’s needed.
What you need to prepare
Before installation day, there are a few things you should sort out:
- Clear the area — move furniture away from the wall where the indoor unit will go. I need about 1.5 metres of clear space to work.
- Check access — if the outdoor unit is going on the roof or in a tight side passage, make sure the gate’s unlocked and the path is clear.
- Confirm power point location — the indoor unit needs a dedicated power point nearby. If you don’t have one, I’ll install it as part of the job.
- Pet safety — if you’ve got dogs or cats, keep them in another room during the install. There’ll be tools, ladders, and open doors.
Installation Day: The Timeline
Here’s how the day usually plays out. I’ll give you a arrival window (usually morning or afternoon) and turn up within that time. If traffic’s bad or the previous job runs over, I’ll call you — but I’m based in Capalaba, so most Redlands suburbs are close by.
Step 1: Arrival and final check (15 minutes)
When I arrive, I’ll walk through the job one more time with you. We’ll confirm the indoor unit position, the outdoor unit location, and the pipe route. If anything’s changed since the quote, we’ll sort it out now — not halfway through the install.
I’ll also ask about the electrical circuit. If your switchboard is in the garage or basement, I’ll need access to it. If it’s an older fuse box, I may need to upgrade it before we can proceed (more on that below).
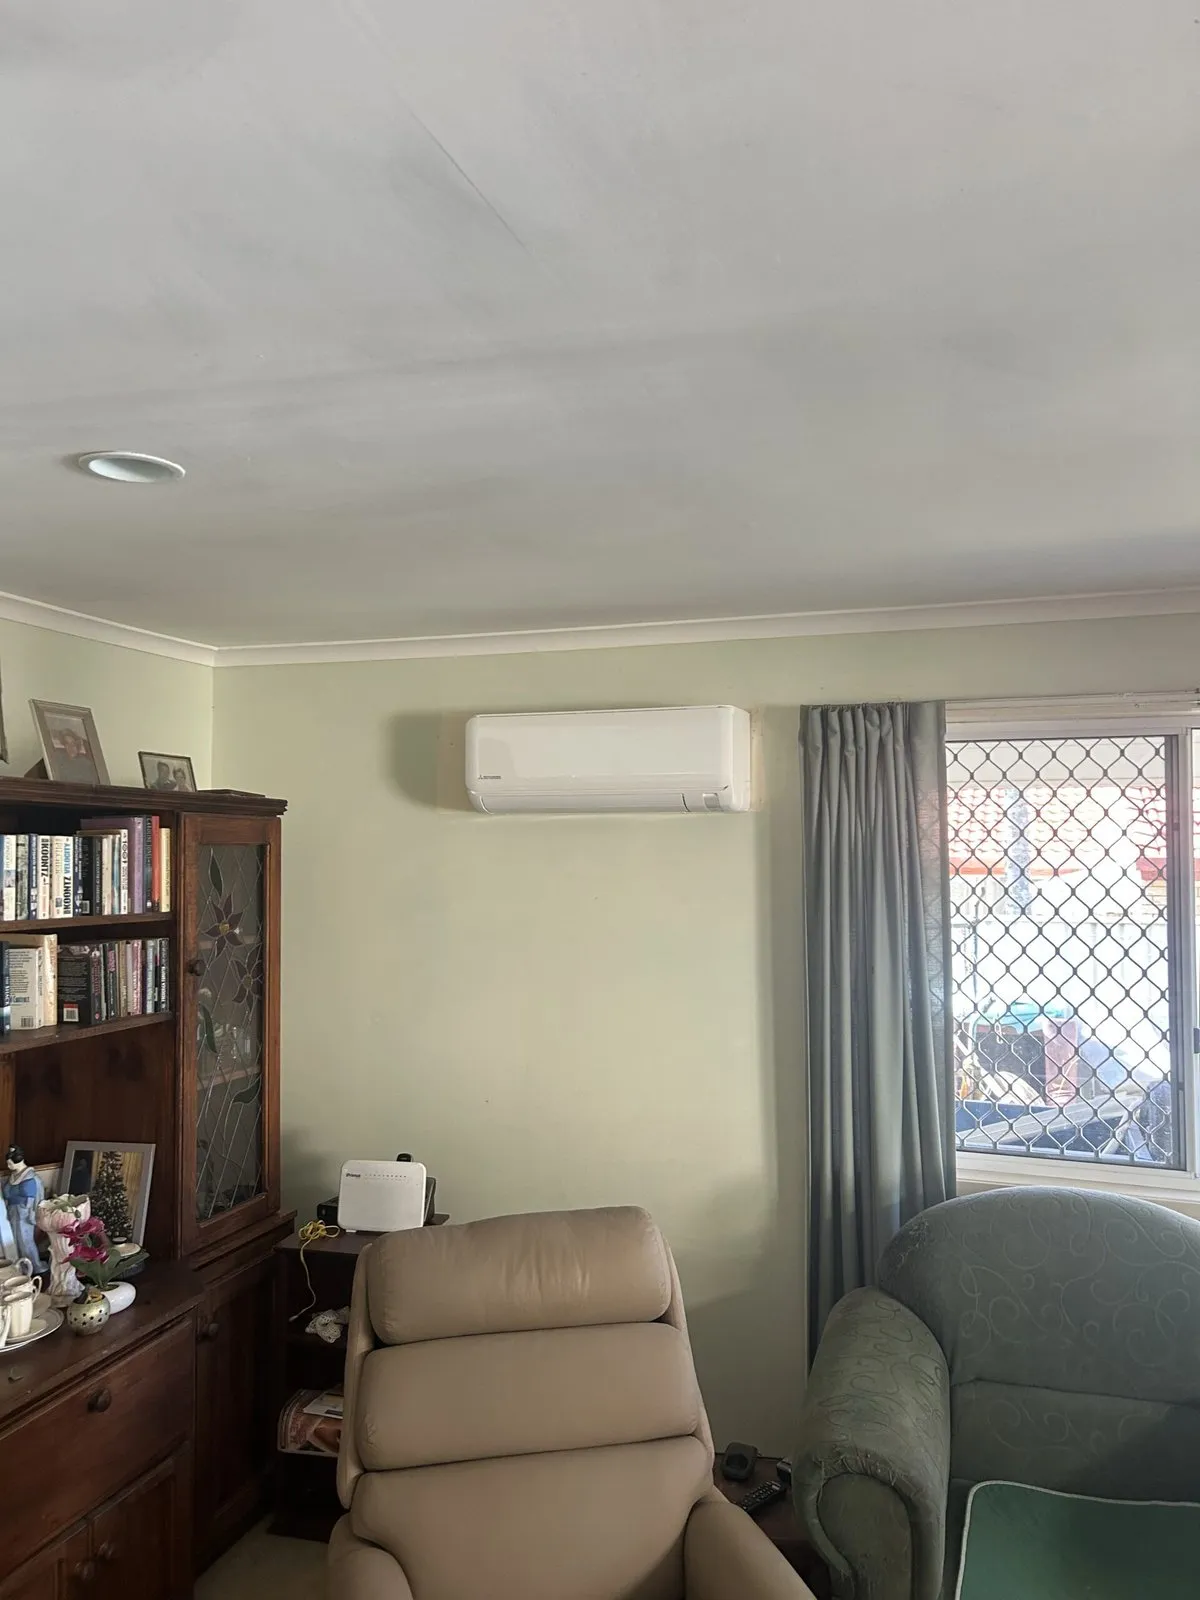
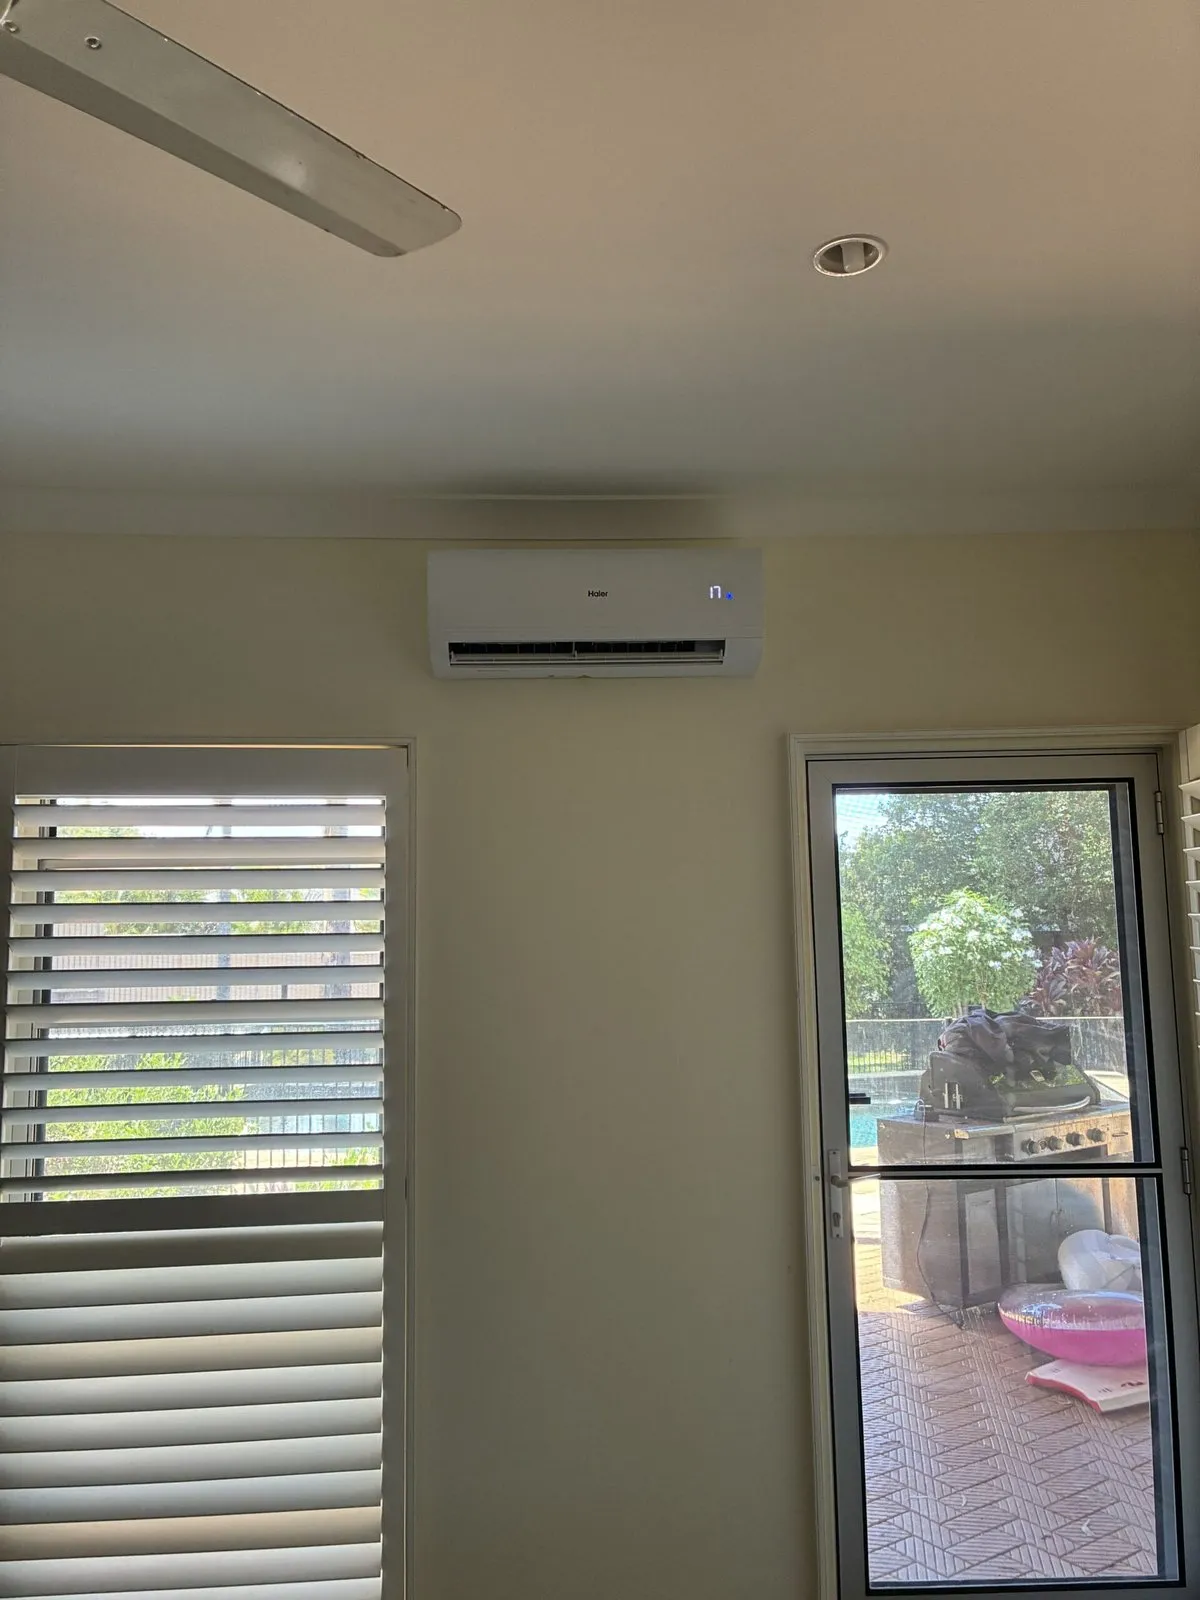
Step 2: Indoor unit mounting (30–45 minutes)
The first physical step is mounting the indoor unit on the wall. Here’s what that involves:
- Mark the position — I’ll measure and mark where the unit goes. Standard height is about 2.1 metres from the floor, but we can adjust if you have specific preferences.
- Check for studs — I’ll use a stud finder to locate the timber framing behind the plaster. The mounting plate needs to be screwed into studs, not just plaster.
- Mount the back plate — this is the metal bracket that the indoor unit hangs on. It needs to be perfectly level.
- Cut the pipe hole — I’ll drill a 65–70mm hole through the wall for the refrigerant pipes, drain pipe, and electrical cable. This creates a small amount of dust, but I’ll clean it up before I leave.
If you’re in a brick veneer or double-brick home, the hole takes a bit longer to drill. In fibro homes (common in older Queenslanders), it’s quicker but I’ll seal the edges properly to prevent moisture ingress.
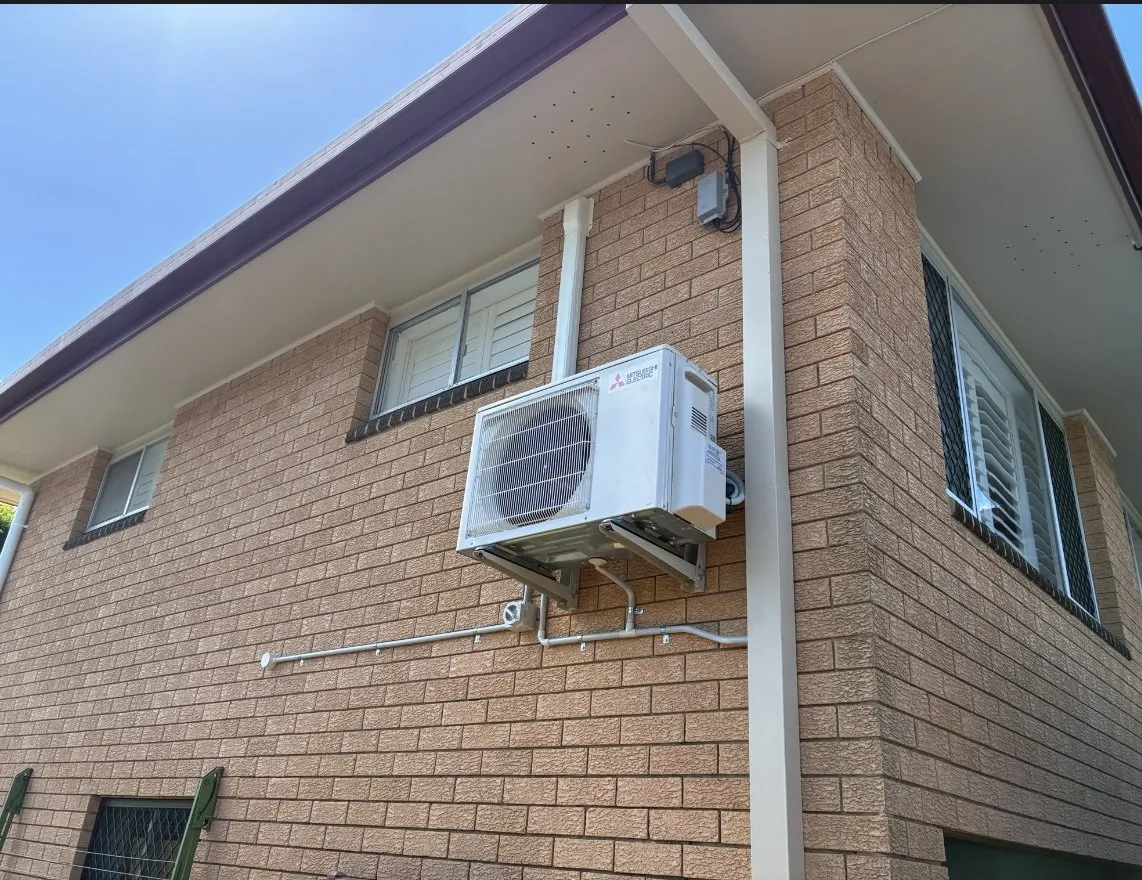
Step 3: Outdoor unit placement (30–45 minutes)
The outdoor unit (condenser) needs a stable, level position with good airflow. Common locations include:
- Side of the house — most common, easiest access
- Rear of the house — if the side is blocked or there’s no space
- Roof — only if ground space is limited; requires a roof mount bracket and extra safety gear
- Balcony — for apartments or townhouses
I’ll place the unit on rubber mounting feet to reduce vibration and noise. If the position is exposed to coastal salt air (common in Wynnum, Manly, Cleveland, or Victoria Point), I’ll recommend an anti-corrosion coating on the outdoor coil — it’s a small extra cost that extends the unit’s life by years.
Step 4: Refrigerant pipe installation (45–60 minutes)
This is the most technical part of the job. The indoor and outdoor units are connected by two copper pipes (liquid and gas lines) and a drain pipe. Here’s what’s involved:
- Run the pipes — I’ll feed the copper pipes through the wall hole and connect them to the indoor and outdoor units. For back-to-back installs, this is usually a straight shot. For longer runs, I may need to chase the pipes into the wall or run them in plastic conduit.
- Insulate the pipes — both copper pipes need foam insulation to prevent condensation and energy loss. This is critical in Brisbane’s humidity — poorly insulated pipes will drip water and waste power.
- Connect the drain pipe — the indoor unit produces condensation when cooling. The drain pipe carries this water outside. I’ll make sure it has a slight fall so water drains away by gravity, not back into the unit.
- Flare the connections — the copper pipes connect to the units using flared fittings. These need to be perfectly sealed — even a tiny leak will cause the system to lose refrigerant over time. All refrigerant handling must be done by an ARCtick-certified technician.
If the pipe run is longer than 3 metres, I’ll need to add extra refrigerant to the system. This is included in the price for longer runs, but it’s worth confirming upfront.
Step 5: Electrical connection (30–45 minutes)
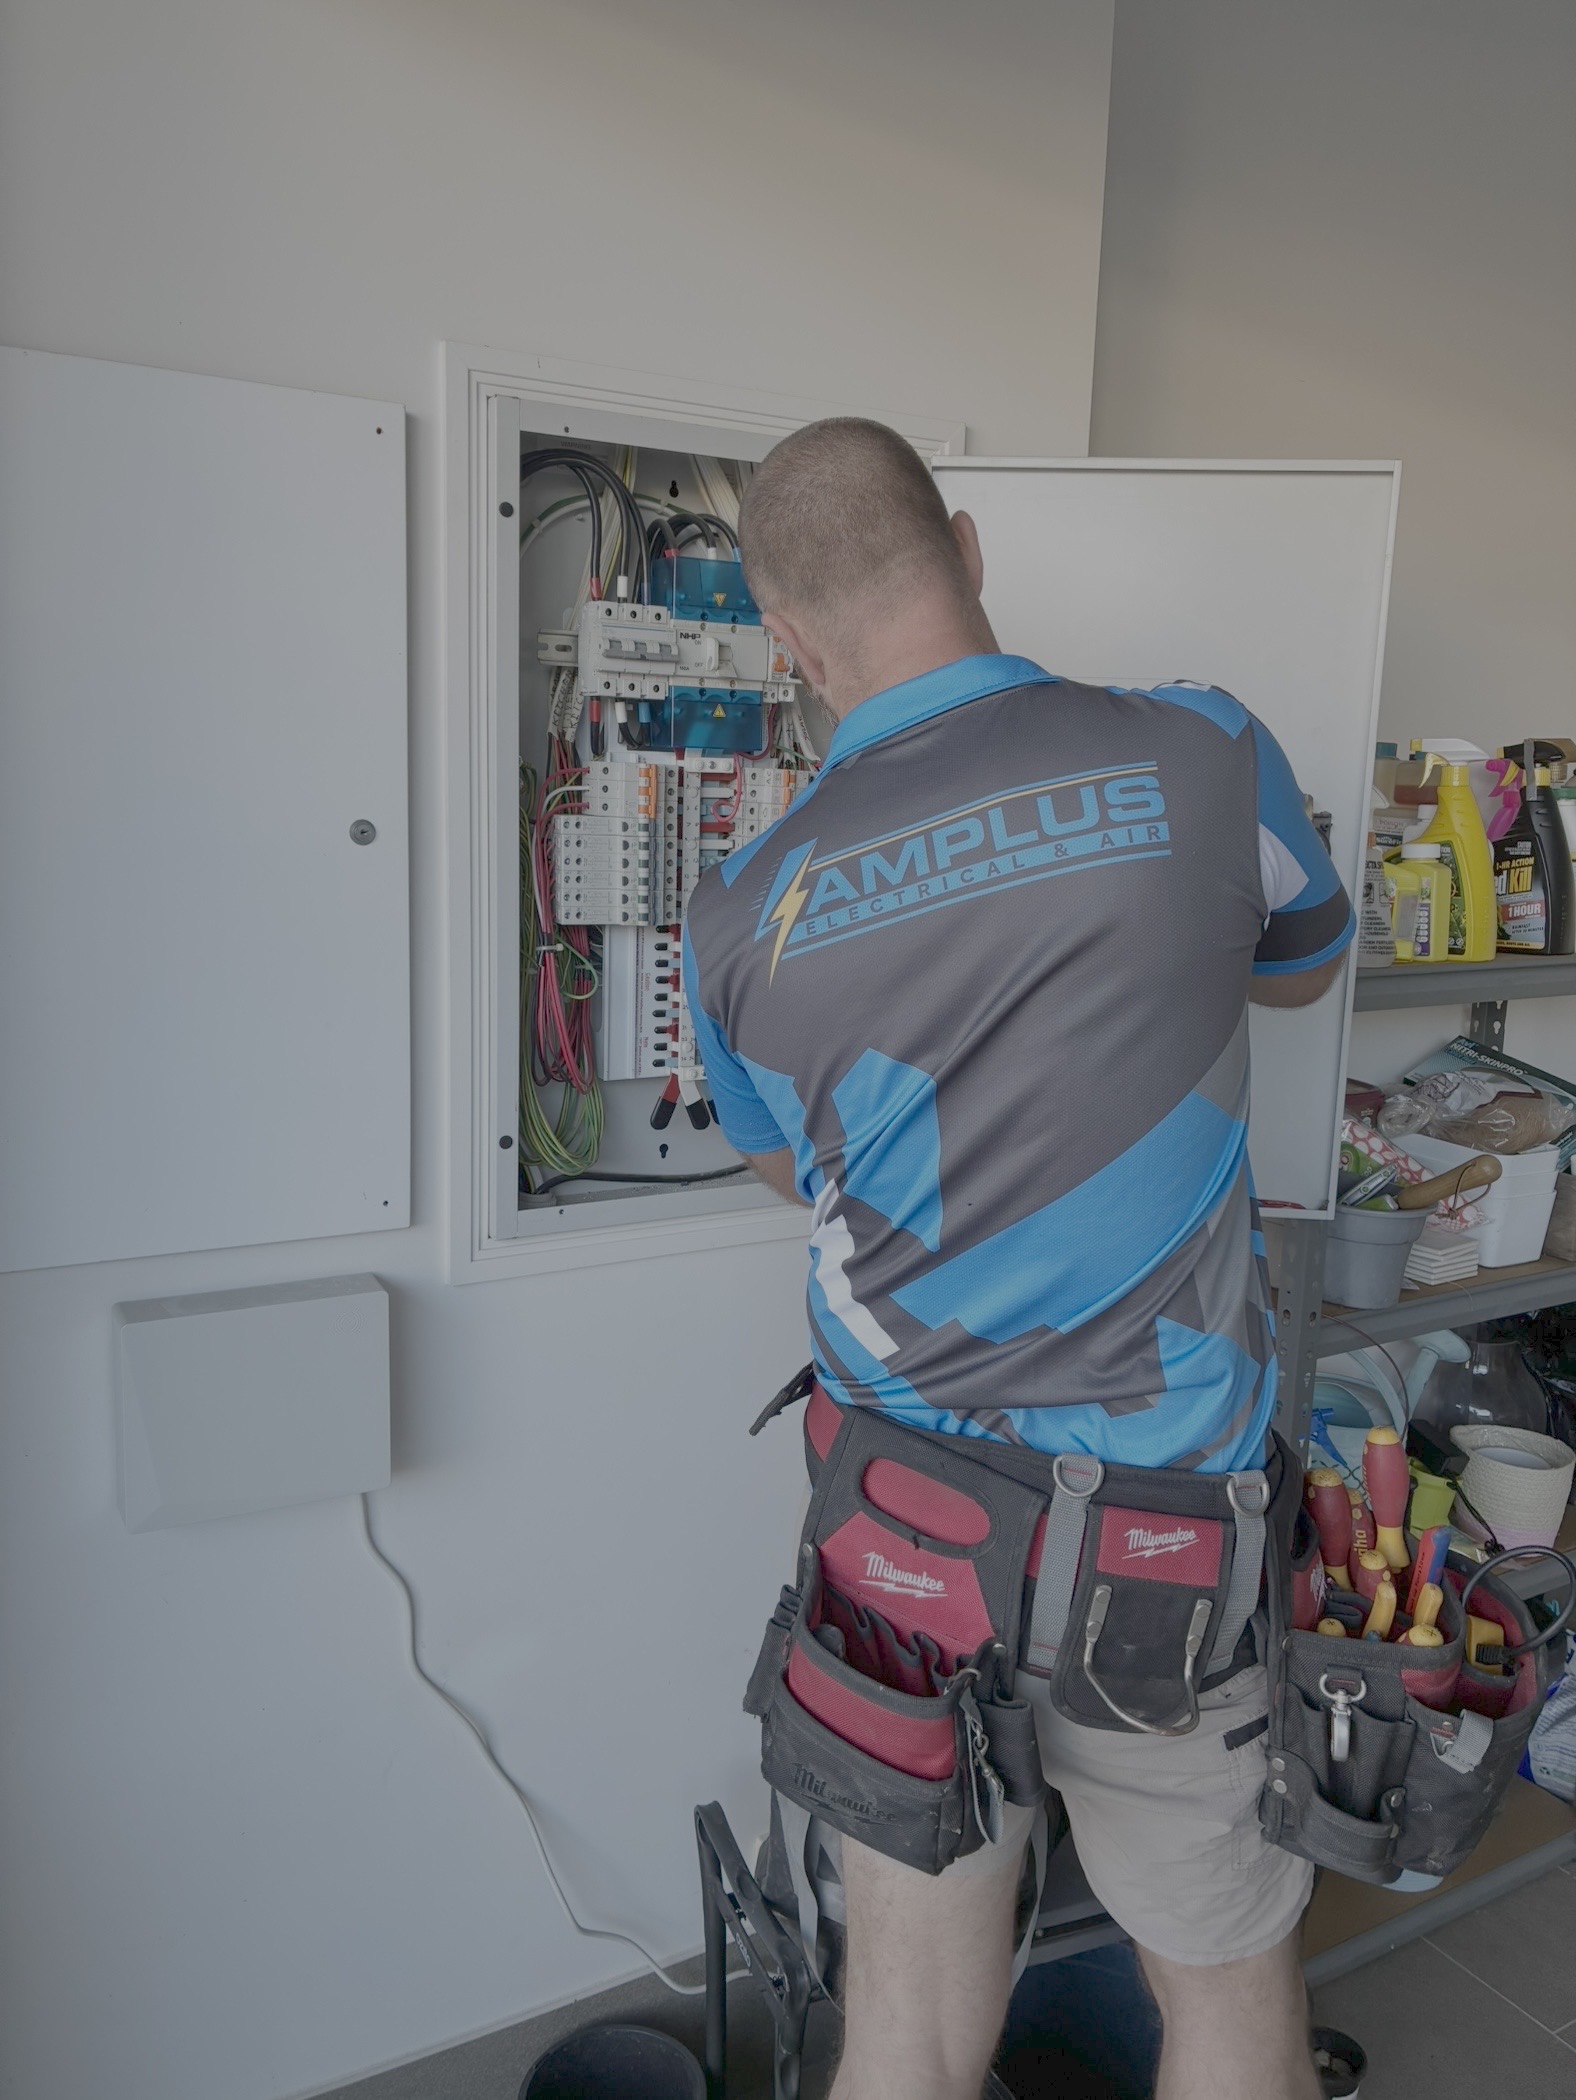
This is where the licensed electrician part comes in. Split system air conditioners need a dedicated circuit back to the switchboard — the QLD Electrical Safety Office requires all electrical work to be performed by a licensed contractor. They can’t share a power point with other appliances. Here’s what I’ll do:
- Run a new cable — from the switchboard to the indoor unit location. This is usually 4mm² or 6mm² cable depending on the system size.
- Install a dedicated circuit breaker — in the switchboard. This protects the circuit and isolates the air conditioner for safety.
- Install an isolation switch — mandatory in Queensland. This is a small switch near the indoor unit that lets you turn off power to the air conditioner without going to the switchboard.
- Connect the indoor unit — wire the unit to the dedicated circuit and test for correct voltage and polarity.
If your switchboard is old (fuse box, no safety switches, or no space for a new breaker), I’ll need to upgrade it before we can proceed. Switchboard upgrades are a separate job, but I can quote and complete it on the same day if needed.
Step 6: Vacuum testing and refrigerant charge (30 minutes)
This is the step that separates professional installs from cowboy jobs. After the pipes are connected, I need to remove all the air and moisture from the refrigerant circuit. Here’s why it matters:
- Air in the system — reduces efficiency, increases wear on the compressor, and can cause the unit to overheat
- Moisture in the system — combines with refrigerant oil to form acid, which corrodes the compressor from the inside
I’ll connect a vacuum pump to the service ports and pull the system down to near-zero pressure. This takes about 15–20 minutes. Then I’ll close the valves and watch the gauge for 5 minutes — if the pressure holds steady, the system is sealed and ready. If it rises, there’s a leak and I need to find it before proceeding.
Once the vacuum test passes, I’ll open the valves and let the pre-charged refrigerant flow from the outdoor unit into the pipes. For longer pipe runs, I may need to add extra refrigerant — I’ll calculate the exact amount based on the pipe length.
Step 7: Commissioning and testing (15–20 minutes)
Now the system is connected, sealed, and charged. Time to turn it on and make sure everything’s working correctly:
- Power up — I’ll turn on the dedicated circuit and check that the indoor unit boots up correctly.
- Test cooling mode — set the thermostat to 20°C and check that the unit blows cold air within 2–3 minutes. I’ll measure the temperature drop across the indoor unit — it should be at least 8–10°C.
- Test heating mode (if it’s a reverse-cycle system) — set to 25°C and confirm warm air. I’ll check the outdoor unit defrosts correctly if it’s a cool day.
- Check for leaks — I’ll use a leak detector on all the pipe connections to confirm there are no refrigerant leaks.
- Test the drain — I’ll pour a small amount of water into the indoor unit’s drain tray and confirm it flows outside without leaking.
- Check remote control — make sure the remote pairs correctly and all functions work (fan speed, swing, timer, etc.).
If anything’s not working correctly, I’ll troubleshoot and fix it before moving on. This is the time to catch problems — not after I’ve left and you’re trying to figure out why the aircon isn’t cooling.
After Installation: Handover and Paperwork
Once the system is running correctly, I’ll walk you through what you need to know and hand over the paperwork. This is the part that unlicensed installers skip — but it’s critical for your warranty and your insurance.
What you’ll receive
- Electrical Safety Certificate — mandatory in Queensland for all electrical work. This certifies that the installation complies with Australian Standards and is safe to use. Without this certificate, your home insurance may be void if there’s an electrical fault.
- Warranty registration — I’ll fill out the manufacturer’s warranty card and register it on your behalf. Most brands (Daikin, Mitsubishi Electric, Haier) offer 5 years parts and labour when installed by an authorised dealer.
- User manual — I’ll leave the manufacturer’s manual with you, but I’ll also walk you through the basics: how to use the remote, how to clean the filters, what the error codes mean.
- Invoice — detailed breakdown of the work completed, materials used, and total cost. You’ll also get a receipt for your records.
What I’ll explain
- How to use the remote — basic functions, timer settings, sleep mode, swing control
- Filter cleaning — I’ll show you how to remove and clean the filters. You should do this every 2–4 weeks during summer.
- Energy-saving tips — set the thermostat to 24–26°C in summer (not 18°C — that just wastes power), use the timer to pre-cool before you get home, close doors and curtains to keep the cool air in.
- When to call for service — if the unit starts making strange noises, leaking water, or not cooling properly, call me before you try to fix it yourself. Most problems are cheap to fix if caught early.
How Long Does the Whole Process Take?
For a standard back-to-back installation (indoor and outdoor units on opposite sides of the same wall), the whole job takes 3–5 hours from arrival to handover. That includes:
- 15 minutes — arrival and final check
- 30–45 minutes — indoor unit mounting
- 30–45 minutes — outdoor unit placement
- 45–60 minutes — pipe installation
- 30–45 minutes — electrical connection
- 30 minutes — vacuum testing and refrigerant charge
- 15–20 minutes — commissioning and testing
- 10–15 minutes — handover and paperwork
If the job is more complex — longer pipe runs, multi-head system, switchboard upgrade, or tricky access — it can take a full day (6–8 hours). I’ll give you a realistic timeframe when I quote the job, and I’ll call you if anything changes on the day.
Multi-head systems
If you’re installing a multi-head system (one outdoor unit connected to 2–4 indoor units), expect the job to take 6–8 hours or a full day. Each additional indoor unit adds about 1–2 hours to the timeline because I need to run separate pipes and electrical circuits to each location.
Multi-head installs are more disruptive than single splits because I’ll need access to multiple rooms and possibly the roof space. I’ll usually start with the furthest indoor unit and work back toward the outdoor unit to minimise pipe runs.
What If My Switchboard Needs Upgrading?
If your switchboard is old — fuse box, no safety switches, or no space for a new breaker — I’ll need to upgrade it before we can install the air conditioner. This is a safety requirement, not a upsell. Here’s what’s involved:
- Fuse box to circuit breaker — if you still have ceramic fuses, I’ll replace the entire switchboard with a modern circuit breaker panel. Cost: $1,200–$2,500 depending on the number of circuits.
- Add safety switches (RCDs) — mandatory for all power circuits since 1991. If your switchboard doesn’t have them, I’ll install them. Cost: $150–$300 per safety switch.
- Add space for the AC breaker — if the switchboard is full, I may need to install a larger panel or add a sub-board. Cost: $300–$800.
I can usually complete the switchboard upgrade on the same day as the air conditioner installation, but it’s worth mentioning upfront when you book so I can bring the right parts. For more details, check our troubleshooting AC not cooling issues.
Do I Need to Be Home During the Installation?
Yes — or at least, someone over 18 needs to be present to let me in and answer any questions. I’ll need access to:
- The indoor unit location (usually a living room or bedroom)
- The outdoor unit location (side of house, rear yard, or roof)
- The switchboard (usually in the garage, basement, or utility closet)
If the outdoor unit is going on the roof, I’ll need access to the roof cavity via a manhole in the ceiling. If you have pets, please keep them secured in another room — there’ll be tools, ladders, and open doors.
You don’t need to hover while I work, but I’ll check in with you if anything unexpected comes up (like a hidden pipe in the wall or a switchboard issue). Most customers go about their day and I’ll call them when I’m finished.
What About Noise and Mess?
Split system installations are relatively clean and quiet compared to other trades. Here’s what to expect:
Noise
- Drilling — the hole through the wall takes about 2–3 minutes and is the loudest part. It sounds like a loud power drill (because it is).
- Screwing and mounting — moderate noise from power tools, but nothing excessive.
- Testing — the air conditioner itself is very quiet once it’s running. The indoor unit is about 20–30 dB (whisper quiet), and the outdoor unit is about 50–60 dB (normal conversation level).
Mess
- Dust — drilling through plaster or brick creates some dust, but I’ll vacuum it up before I leave.
- Debris — packaging from the units, pipe insulation offcuts, etc. I’ll take all the rubbish with me.
- Wall damage — minimal. The only hole is the 65–70mm pipe hole, which I’ll seal with silicone on the outside. If you want the indoor unit position changed later, you’ll have a small hole to patch — but that’s easy enough for a plasterer.
I treat your home like it’s my own. I’ll wear shoe covers if I’m walking through your house, and I’ll clean up before I leave. If anything gets damaged (rare, but it happens), I’ll let you know and sort it out.
Choosing the Right Installer in Brisbane
Not all air conditioning installers are equal. In Queensland, the law requires anyone installing a split system to hold two licences:
- Queensland Electrical Contractor Licence — covers the electrical work (wiring, switchboard, isolation switch). Mine is #1500996.
- ARCtick Refrigerant Handling Licence — covers the refrigerant work (pipes, vacuum, gas charge). Mine is L183747.
If an installer can’t produce both licence numbers, walk away. They’re either unlicensed (illegal) or they’re subcontracting the work to someone else (which voids your warranty and makes it harder to track down problems).
For a detailed guide on how to choose the right installer, check our air conditioning installers Brisbane guide. It covers the red flags, the questions to ask, and what a proper quote should include.
After the Install: What to Expect in the First Few Weeks
Once the system is installed, you’ll get used to it over the next few weeks. Here’s what’s normal and what’s not:
Normal
- Occasional clicking sounds — the plastic casing expands and contracts as the temperature changes. This is normal and stops after a few weeks.
- Water dripping outside — this is condensation from the indoor unit. It’s normal in humid weather.
- The outdoor unit defrosting — in winter, the outdoor unit will periodically defrost (it looks like it’s smoking). This is normal for reverse-cycle systems.
Not normal — call me if:
- The unit isn’t cooling or heating — could be a refrigerant leak, faulty compressor, or electrical issue
- Water is leaking inside — blocked drain pipe or incorrect installation angle
- Loud banging or grinding noises — loose fan blade or failing motor
- The unit keeps tripping the circuit breaker — electrical fault or undersized circuit
If anything seems off, call me on 0419 014 146 and I’ll talk you through it over the phone. Most issues are cheap to fix if caught early — but don’t try to fix it yourself, you’ll void the warranty.
How to Get the Most Out of Your New Split System
Once your new system is installed, here are a few tips to keep it running efficiently and extend its lifespan:
- Clean the filters every 2–4 weeks — dirty filters reduce airflow and make the unit work harder. In Brisbane’s dusty climate, this is critical.
- Set the thermostat to 24–26°C in summer — every degree lower costs about 10% more in energy. 24°C is comfortable and efficient.
- Use the timer — pre-cool the house 30 minutes before you get home, rather than running the unit all day.
- Close doors and curtains — keep the cool air in and the hot air out. Block-out curtains make a huge difference.
- Schedule annual servicing — I recommend a professional service every 12–18 months. It keeps the unit efficient, catches small problems early, and is required to keep your warranty valid.
For more tips on reducing your running costs, check our split system running costs guide. It covers the best temperature settings, energy-saving tricks, and how much you should expect to pay per hour.
Frequently Asked Questions
How long does a split system installation take?
A standard back-to-back installation takes 3–5 hours. Multi-head systems or jobs with long pipe runs can take 6–8 hours or a full day.
Do I need to be home during the installation?
Yes, or at least someone over 18 needs to be present to let the technician in and provide access to the indoor unit, outdoor unit, and switchboard.
Will the installation damage my walls?
Minimal damage. The only hole is a 65–70mm pipe hole through the wall, which is sealed with silicone on the outside. There may be small screw holes for the mounting bracket, but these are easy to patch if you remove the unit later.
How much does a split system installation cost in Brisbane?
For a standard back-to-back install, expect to pay $1,400–$4,500 depending on the system size. Multi-head systems cost $4,200–$8,000+, and ducted systems start from $7,500. For a detailed breakdown, see our air conditioning installation cost guide.
What if my switchboard needs upgrading?
If your switchboard is old (fuse box, no safety switches, or no space for a new breaker), it will need upgrading before the air conditioner can be installed. This costs $1,200–$2,500 depending on the work required. I can usually complete the upgrade on the same day as the installation.
Do you offer a warranty on your work?
Yes. All installations come with a workmanship guarantee, and you’ll receive the manufacturer’s warranty (usually 5 years parts and labour for brands like Daikin, Mitsubishi Electric, and Haier). You’ll also get an Electrical Safety Certificate, which is mandatory in Queensland.
What brands do you install?
We install Daikin, Mitsubishi Electric, Mitsubishi Heavy Industries, Haier, and TCL. For a detailed comparison of the best split system brands for Brisbane homes, check our split system brands guide.
How do I book an installation?
Call Aaron on 0419 014 146 for a free quote, or book online. We service Capalaba, Cleveland, Victoria Point, Wellington Point, Thornlands, Alexandra Hills, Ormiston, Redland Bay, and the wider Brisbane Bayside and Redlands area.
Need a Licensed Electrician in Brisbane Bayside?
Aaron is a licensed electrician (Lic. 1500996) and ARC-certified A/C technician serving Capalaba, Cleveland, Wynnum, Manly, Birkdale, Thornlands, Victoria Point and surrounding suburbs. Honest advice, upfront pricing, and quality work guaranteed.